REVIEW · STOCKHOLM
Magical ”Stockholm by Night” Photo Walk
Book on GetYourGuide →Operated by JP Photo · Bookable on GetYourGuide
A city at night is a different planet. This Stockholm by Night photo walk starts at Blue Hour, when the light is soft, reflections wake up on the water, and the buildings begin to glow—then you learn how to photograph it without guesswork. I love that it’s a relaxed, personal session with guidance that matches your level. I also love that you end up at the kind of scenic spots and less-obvious corners you’d be unlikely to find on your own in a short evening. The main drawback to plan for: the walk is only 2 hours, so you’ll want to come ready to shoot (and comfortable on your feet).
If you can bring a camera or a charged smartphone, you’re already set. You’ll get practical nighttime techniques—long exposures, keeping images sharp, and using movement creatively—while walking from Slussen toward Old Town. The tour is private, led in English or German, and includes headlamps, which sounds small until you’re moving in low light and want your hands free.
In This Review
- Key highlights I’d prioritize
- Blue Hour to Old Town: how the walk is timed for photos
- Slussen meeting point and what to carry for an easy night
- Private guidance that adapts to your level without slowing you down
- Night photography secrets: sharp frames, Blue Hour balance, and creative mood
- 1) Getting sharp images at night
- 2) Balancing the sky and the lights
- 3) Making the city feel like a story
- Long exposures and light painting: the practical fun part
- Tripod reality check
- What you’ll photograph between Slussen and Old Town
- Water reflections and the glow effect
- Depth and layering
- Movement as a design tool
- Old Town night character
- The eBook follow-up: Skyline Stories helps you keep your results
- Price and value: is $155 fair for a 2-hour private photo tutor?
- Who this photo walk fits best
- Should you book Stockholm by Night?
- FAQ
- How long is the Stockholm by Night Photo Walk?
- Where is the meeting point?
- Is it a private tour?
- What languages are available?
- Do I need a tripod?
- What’s included in the price?
Key highlights I’d prioritize
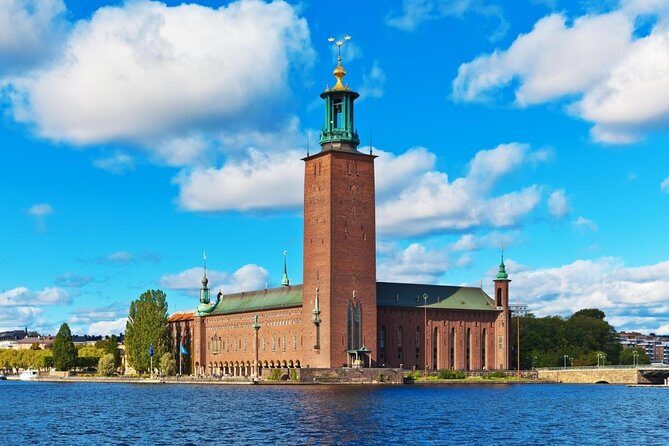
- Blue Hour timing: you learn as the city shifts from daylight to its night glow.
- Private, tailored route: your path adjusts to your interests and photography comfort level.
- Long exposure coaching: learn how to do light painting and still keep sharp results.
- Creative storytelling with photos: images with mood that say something without words.
- Headlamps included: practical gear so you’re not juggling a light while composing.
- Extra follow-up learning: you receive a link to the guide Skyline Stories after the walk.
Blue Hour to Old Town: how the walk is timed for photos
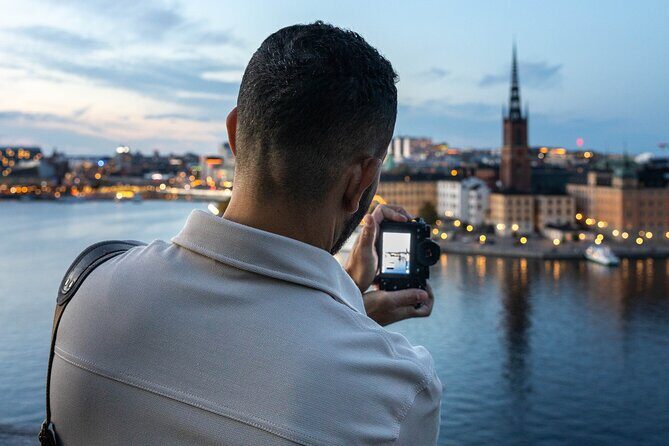
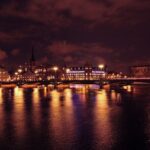
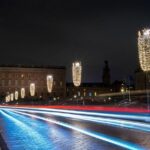
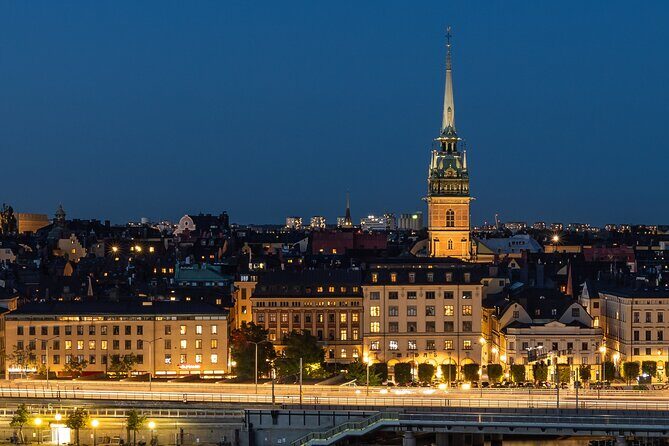
The evening is built around one of my favorite lighting tricks in city photography: timing. You start at Blue Hour, that short window when the sky is still readable but the city is already switching on. Stockholm’s waterfront and landmark areas tend to respond fast in this light—reflections appear one by one, windows start glowing, and the whole scene turns into soft colors and shimmering highlights.
From your first frame, you’ll understand why this matters. Blue Hour is forgiving for night photos. Instead of a harsh, black sky, you often get a gradient that adds depth. It also gives you something to aim for while learning exposure and focusing. If you’re worried that nighttime photography is all technical chaos, this start helps you breathe and learn in the easiest part of the night.
You’ll begin at Slussen, right outside the Stockholm city museum (Stadsmuseet) at the subway station entrance. The walk then moves toward Old Town, so the feeling shifts from water-and-city-light scenes into the tighter, atmospheric streets and classic night mood you associate with Gamla Stan. That transition is useful: you see how your approach changes when the background goes from broad reflections to more concentrated textures and street-level lighting.
You can also read our reviews of more walking tours in Stockholm
Slussen meeting point and what to carry for an easy night
Logistics can wreck a good photo outing. This one keeps things simple, which is exactly what you want in the dark.
You meet at Slussen, in front of Stadsmuseet, at the subway station. That’s convenient for arriving and helps you avoid a long hunt in low light. The walk ends in Old Town, so you naturally finish near one of Stockholm’s most photogenic areas without needing extra planning to get there.
Bring comfortable shoes. I’m serious. Night photography often means stopping, standing, and repositioning. Even if the route is short, you’ll be moving with purpose.
For gear:
- Use your camera or phone (the activity explicitly works with either).
- Bring a charged smartphone.
- A tripod is recommended. It’s not included, so if you’re serious about long exposures, plan ahead.
Also, expect the walk to use headlamps during the evening. That’s a smart inclusion because it supports safety and keeps you from holding a flashlight in one hand while trying to frame with the other.
Private guidance that adapts to your level without slowing you down
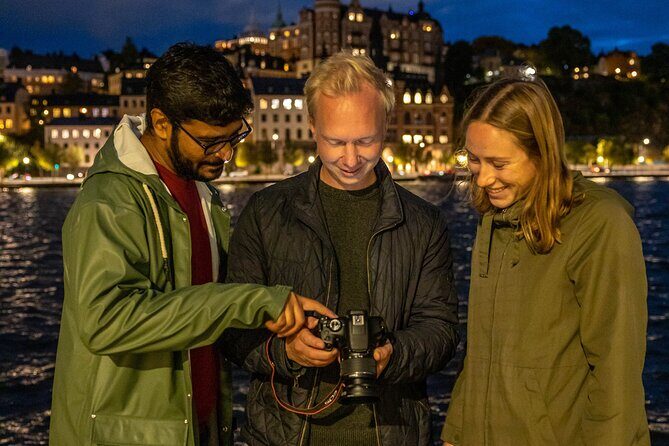
One of the strongest reasons this photo walk gets high marks is the tone: it stays personal. This isn’t a big-group tour where everyone gets the same script and the same two photo stops. It’s a private experience with individual guidance, and the route is tailor-made based on your experience level and interests.
In practical terms, that means you don’t waste time on lessons you already know. If you’re brand new, you get direction on how to handle low light and where to place yourself for better compositions. If you’ve shot at night before, you can focus on specific problems—like sharpening results and making long exposures look intentional instead of accidental.
A local professional photographer and guide leads the walk (JP Photo is listed as the provider). In recent feedback, the guide name Julien shows up, and the vibe is consistent: people feel the guidance matches their level and they get taken to photo-friendly places rather than just walking.
If you’re traveling solo, this matters even more. You still get the full attention, and the guide can adjust pacing and teaching moments on the fly. Night photography can feel awkward when you’re figuring things out alone. Here, you’re learning with a safety net.
Night photography secrets: sharp frames, Blue Hour balance, and creative mood
The heart of the session is learning how to make night photos you’re actually proud of. The highlights call out nighttime photography secrets, sharp images at night, and turning low-light challenges into creative opportunities.
Here’s what that looks like in real shooting terms:
1) Getting sharp images at night
Low light makes cameras struggle. Even when the city is bright with lights, your settings and steadiness affect clarity. You’ll get pointers on how to approach focus and how to keep your frames from looking blurry in a way that reads as noise or smearing.
Even if your camera has a night mode, learning the basics still helps. Once you understand what you’re trying to control—light, sharpness, and timing—you’ll start seeing results improve fast.
You can also read our reviews of more evening experiences in Stockholm


2) Balancing the sky and the lights
Blue Hour is ideal for this. The guide helps you use the sky and reflections for depth rather than letting everything turn into blown-out highlights or flat scenes. The goal is mood with detail.
3) Making the city feel like a story
The walk emphasizes creating stories without words—photos that communicate through light and composition. That’s not just poetic marketing. It changes how you frame. Instead of snapping the most obvious view, you learn how to include leading lines, reflections, and layers so your final images feel like a sequence, not a pile of separate shots.
Long exposures and light painting: the practical fun part
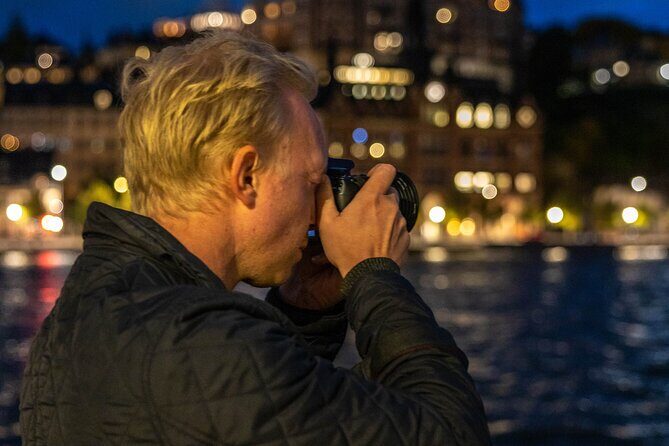
This is where the walk earns its name. You’re taught how to paint with light and create long exposure images. You also learn how to play with movement—so your photos don’t look like frozen postcards.
Long exposure is not only about turning the shutter into a magic wand. It’s about control. A longer exposure can:
- smooth out water and emphasize reflections,
- make light trails that feel alive,
- create a dreamy atmosphere while still keeping key elements readable.
You’ll also learn how to do this in a city environment, where you’re not in a studio. Street lighting, window glows, and moving people or boats can all influence the final look. The guide’s job is to help you make those influences work for you.
Light painting is especially fun at Blue Hour and early night because there’s enough ambient light to keep the scene structured. The headlamp inclusion helps here too—you’ll have an easy, hands-free way to manage your setup while you experiment.
If you want long exposures but feel intimidated by the idea of settings, this tour’s promise is reassuring: you don’t need advanced technical knowledge. The coaching focus is on what to do in the field so you can replicate results later.
Tripod reality check
A tripod is recommended (not included). If you want longer shutter speeds, stability matters. Without one, you can still learn concepts, but you’ll likely feel the limits faster. If you already own a small tripod, bring it. If you don’t, you can still benefit from the teaching—just be realistic about how much experimentation you can do.
What you’ll photograph between Slussen and Old Town
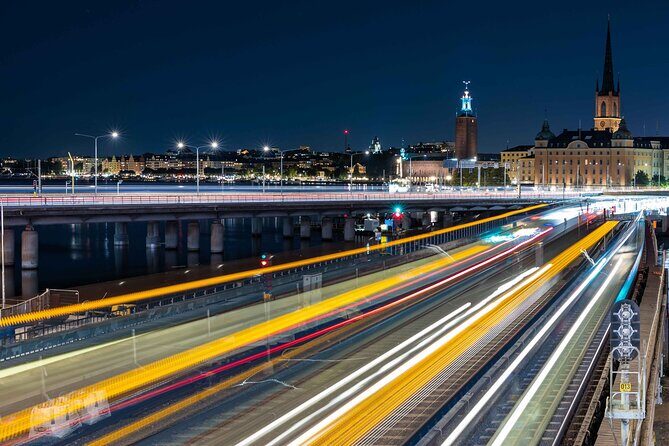
The route isn’t described with a list of named landmarks, but you can count on certain photo-friendly themes based on what the guide emphasizes.
Water reflections and the glow effect
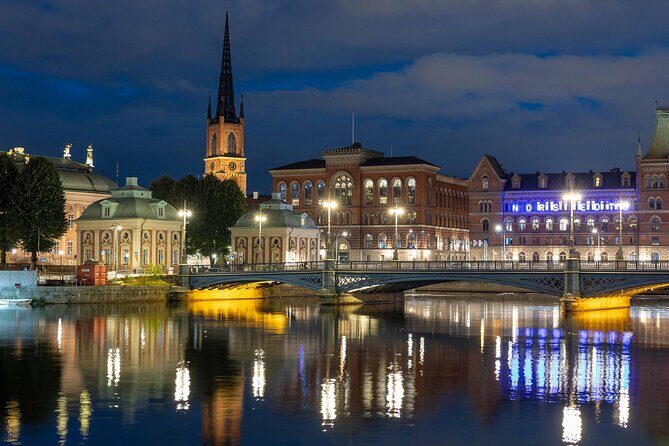
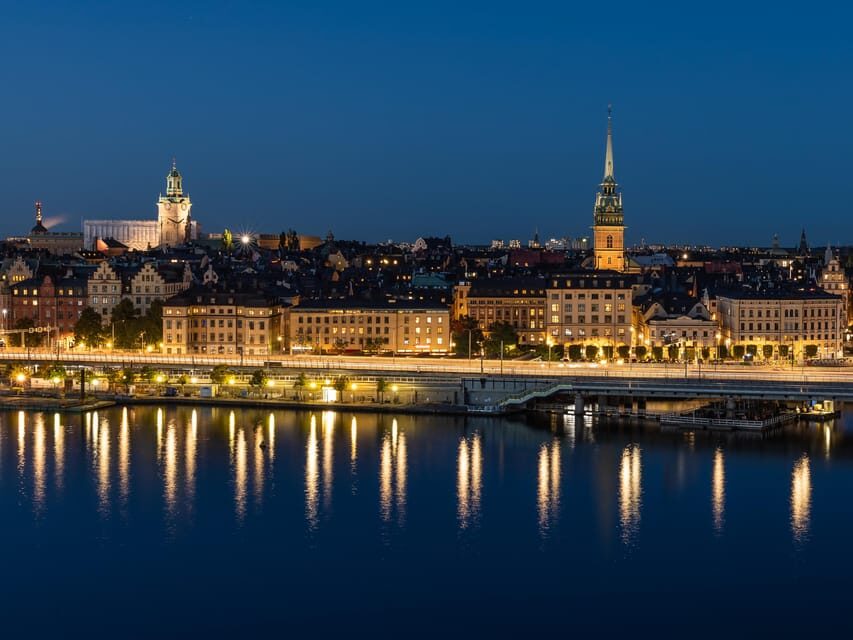
Early in the walk, you’ll photograph the moment when reflections on the water start appearing and windows become illuminated. That combination is a classic Stockholm look because it adds symmetry, softness, and atmosphere. It also creates strong composition options: a foreground element plus a reflected city line often makes your photo feel deeper.
Depth and layering
The tour highlights creating photos with depth, drama, and mood. To get there in night photography, you need layers. Even without fancy gear, layering comes from how you position yourself relative to streets, water, and buildings. The guide helps you find compositions that separate the scene into foreground, midground, and background so the image has a narrative flow.
Movement as a design tool
Playing with movement can mean intentional blur—like turning a busy-feeling street into silky light rather than messy chaos. It also can mean letting moving elements guide the eye. Either way, the instruction encourages you to treat movement as composition, not as an accident.
Old Town night character
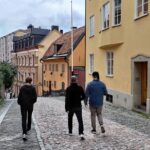
Ending in Old Town gives you a natural change in lighting and texture. The mood tends to get more intimate. Narrower streets and older urban feel (even at a distance) often lead to photos with stronger atmosphere and less wide-open scenery. You’ll finish with a different style of frame than you started with, which is a great payoff in only 2 hours.
The eBook follow-up: Skyline Stories helps you keep your results
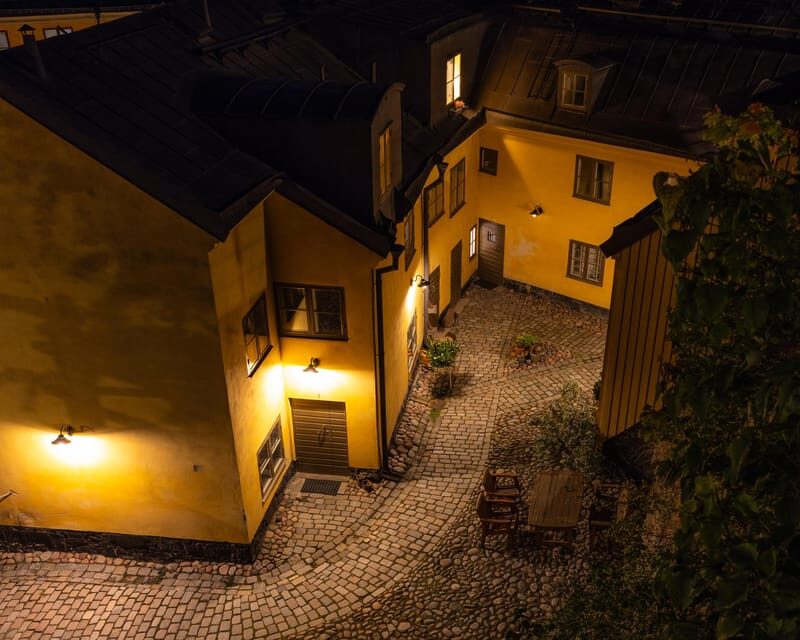
One nice bonus is what happens after the walk. You’ll receive a link to Skyline Stories, a guide with tips for composing stunning city photos.
That matters because the biggest frustration after a photo tour is forgetting what you learned five days later. A follow-up guide turns your evening from a one-off outing into an ongoing practice. You can review your own shots, compare what you did to the composition tips, and repeat the approach the next time you’re in a similar lighting situation.
You’re also coming away with more than just images. You’re leaving with repeatable habits: how to see reflections, how to think about depth, and how to approach long exposures with intent.
Price and value: is $155 fair for a 2-hour private photo tutor?
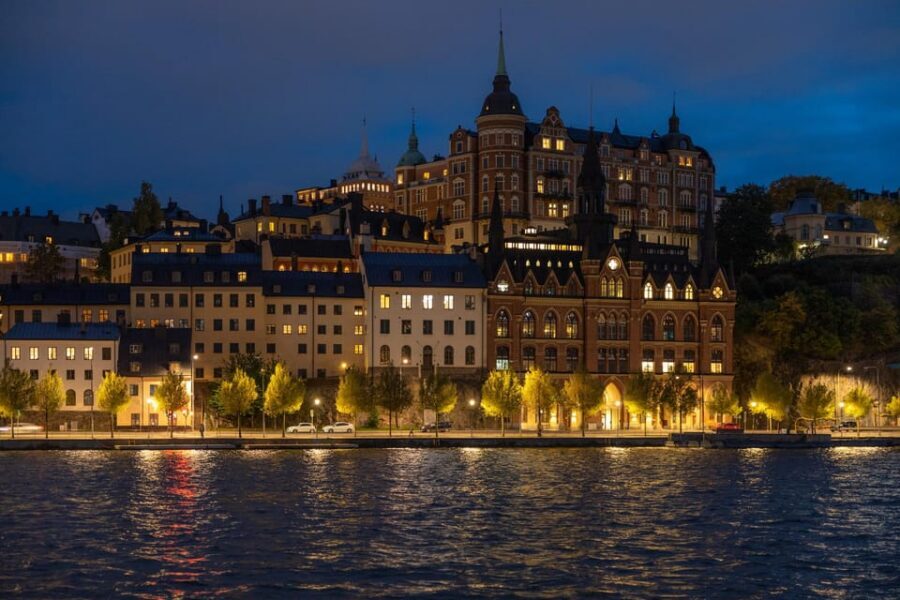
At $155 per person for a 2-hour private session, the value depends on what you want. If you’re simply looking for a scenic stroll with a few photos, you’ll probably feel underwhelmed. But if you want an evening where someone helps you turn the city’s night conditions into consistently good results, the math makes more sense.
Here’s what you’re paying for:
- Private guidance instead of shared group instruction.
- A tailor-made route designed around your level and interests.
- Teaching that targets real night photography goals: sharpness, long exposures, light painting, and movement.
- Practical inclusions: headlamps and an eBook after the tour.
- Local insight into Stockholm and Swedish culture, which adds context when you’re photographing a place rather than just copying a viewpoint.
A night photo session like this can feel expensive compared with public tours, but it’s closer to a short, field-based workshop. If you already know the basics and only need a location list, you might get by on your own. If you want guidance that helps you make photos you’re truly proud of—and a guide who can adjust pacing and feedback—you’re getting what you came for.
Also, a private 2 hours is efficient. Stockholm is big, and Blue Hour doesn’t wait. This tour spends that time where it matters: under good light, with coaching happening as you shoot.
Who this photo walk fits best
This experience is a strong match if:
- You want to learn nighttime photography without drowning in theory.
- You like the idea of long exposures and want confidence building, not just trial-and-error.
- You’re the type who wants better photos you can recreate later.
- You’re comfortable walking at night and bring the right basics (shoes, camera/phone).
It’s especially good for people who are curious but not sure what to change first. The structure is designed to turn confusion into clear actions. And the private format makes a difference if you want personal feedback on your framing or your results.
If you’re an advanced photographer, you may still enjoy the session for the composition direction and the chance to focus on city-specific night effects. But keep in mind the time is limited. You won’t have hours and hours to build one complicated concept. You’ll be learning and producing a set of strong, usable frames instead.
Should you book Stockholm by Night?
If you want an evening that feels like both sightseeing and a real photo lesson, book it. I’d choose this when you care about learning technique—especially long exposure and how to work with Stockholm’s night light—more than chasing a checklist of famous sights.
I’d pause and reconsider only if:
- You already have a complete night photography workflow and just need locations.
- You hate walking in low light (even with headlamps).
- You expect a long, multi-hour shoot where you can experiment endlessly.
Otherwise, this is a smart way to spend a short slice of time in Stockholm: you get the right lighting moment, you work with a professional guide, and you leave with photos and skills you can keep using.
FAQ
How long is the Stockholm by Night Photo Walk?
The tour lasts 2 hours.
Where is the meeting point?
You meet in front of Stockholm’s city museum (Stadsmuseet) at the subway station called Slussen.
Is it a private tour?
Yes. It’s a private group with a tailor-made route adapted to your experience level and interests.
What languages are available?
The live tour guide is available in English and German.
Do I need a tripod?
A tripod is recommended, but it isn’t included. You can still use your own camera or phone.
What’s included in the price?
Individual guidance by a professional photographer and guide, a private experience, headlamps, a tailor-made route, local insight into Stockholm and Swedish culture, and an eBook about city photography that you receive after the tour.